I glued 100 WS2812 NeoPixels to a hat then mapped them in 3D space
Construction
You will need:
- A hard hat
- A Pi Zero 2 W
- A button shim
- An OLED display
- 2 NeoPixel strings
- A USB Microphone
- A USB OTG adapter
- A power bank
- Wire
- Hot glue
I hot-glued the lights to the hat, turning in a random(ish) direction after I'd glued-down each one, attempting to move towards empty space each time. I also managed to stick 2 or 3 of them on backwards because I'm an idiot.
I cable-tied the Pi to the power-bank and wired everything up, producing something you absolutely would not want to try to take through an airport:
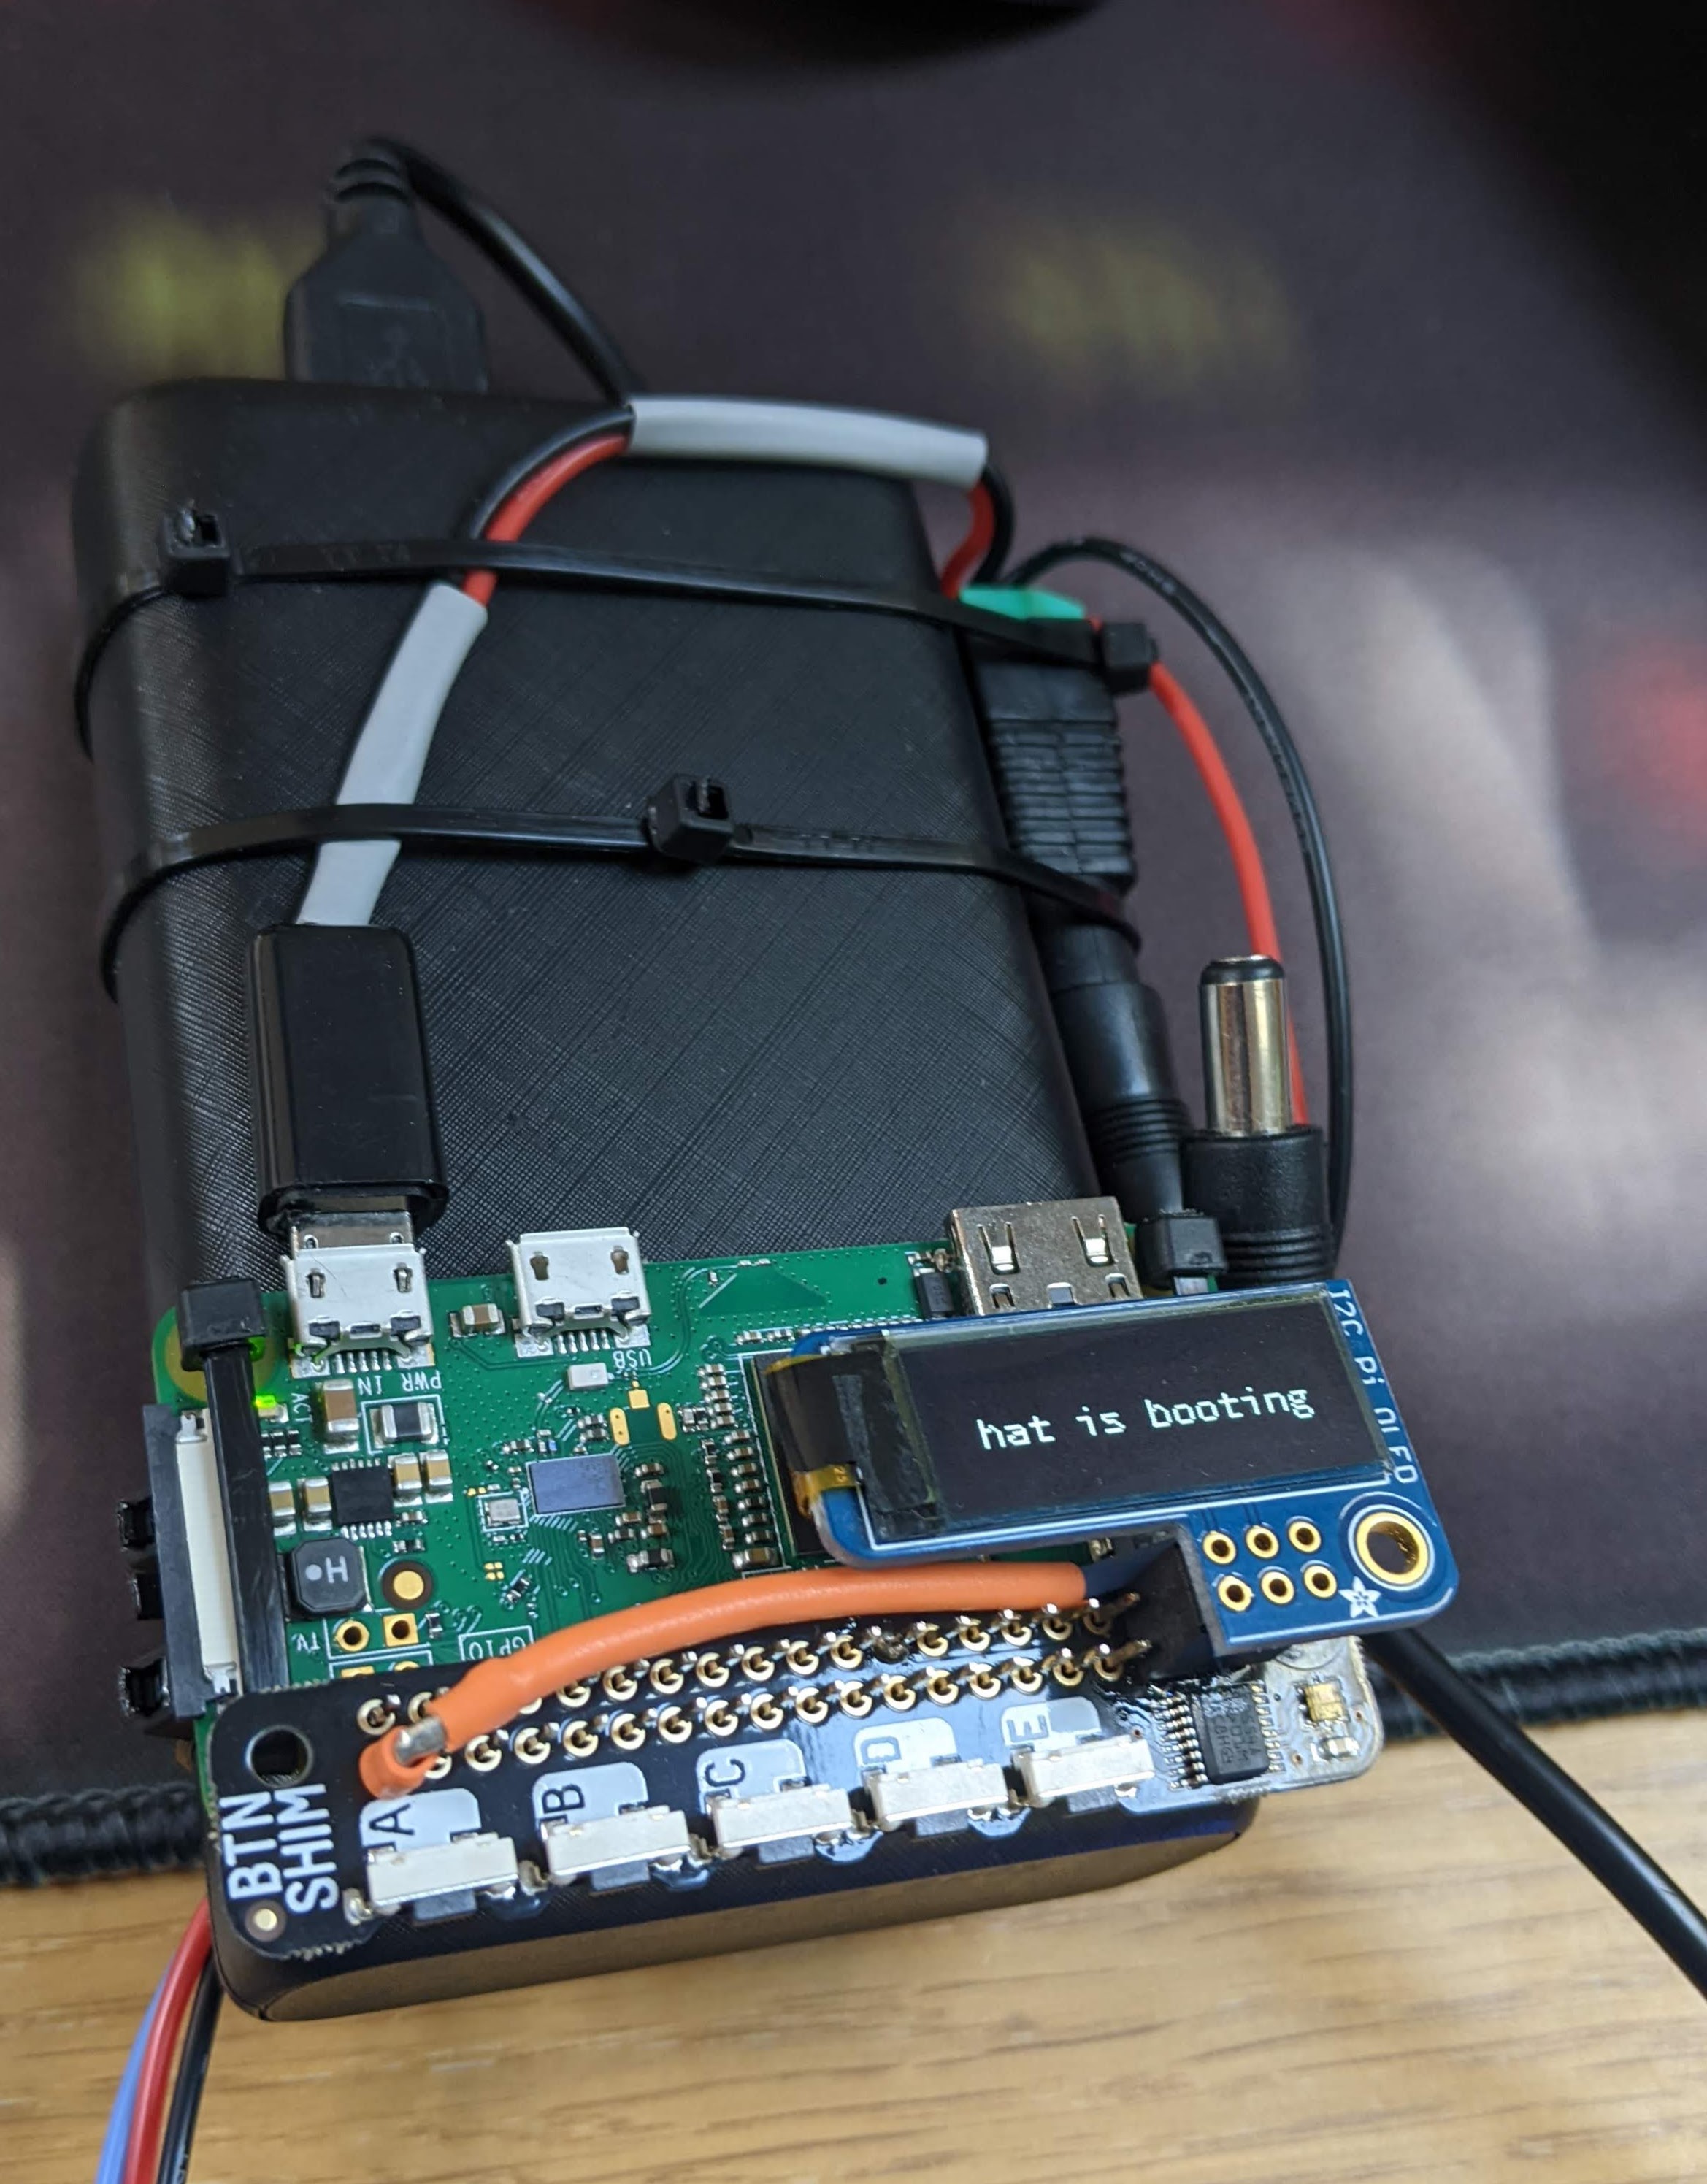
The data line is connected to pin 21 (physical pin 40).
Installing the software
From a box-fresh install of 64-bit Raspberry Pi Debian 12 (bookworm) (Note: I turned off device-filtering in the Raspberry Pi imager because it didn't want to let me have Bookworm for my Zero):
Set hostname
sudo raspi-config nonint do_hostname glowing-hat
sudo reboot
Install git
sudo apt --yes update && sudo apt install --no-install-recommends --yes git
Get this repo
git clone https://github.com/hat-festival/glowing-hat
Install everything
cd glowing-hat
./configure
make
Mapping the lights
Once everything is assembled, you need to take lots of photos, and do a load of analysis.
Controls
The five buttons are are mapped as follows:
- A: cycle through the available
modes - B and C: turn the brightness up and down
- D: display the hat's IP address (if an Oled screen is available)
- E: hold for one second to restart the
systemdservice - A and D: hold both of these for three seconds to reboot the whole Pi (sometimes things get really stuck)
Modes
A mode
needs to inherit from Mode,
and should expose a run
method, which loops forever and does something with the lights. A mode needs
to be included in this
list in order to be eligible, and then the mode ordering and per-mode
preferences are defined per
hat - here, glowing-hat is the hostname to which this list
will be applied.